Wednesday, July 10, 2013

Project Complete

Within two weeks we had my mom's house sold and we started the process of getting our house on the market. Right before J was born we had started putting in a basement bedroom so that our home would be 3 bedrooms instead of 2.

Here are some of the starting pictures:


When we left off in February 2012, we had about half of the framing up and some drywall. We had finished the electrical and duct work. Now came the hard part. We needed to move the drainage pipe up into the ceiling, put in an egress window, finish the walls, put up trim and put in carpet.

Here are some of the basement project pictures:
replacing the subflooring under the toilet

cutting the drainage pipe out

cutting the cast iron pipe out got messy

new pipes; notice they are up in the ceiling :)

working on the egress window and well


drywall taped, mudded and sanded; all prepped for painting


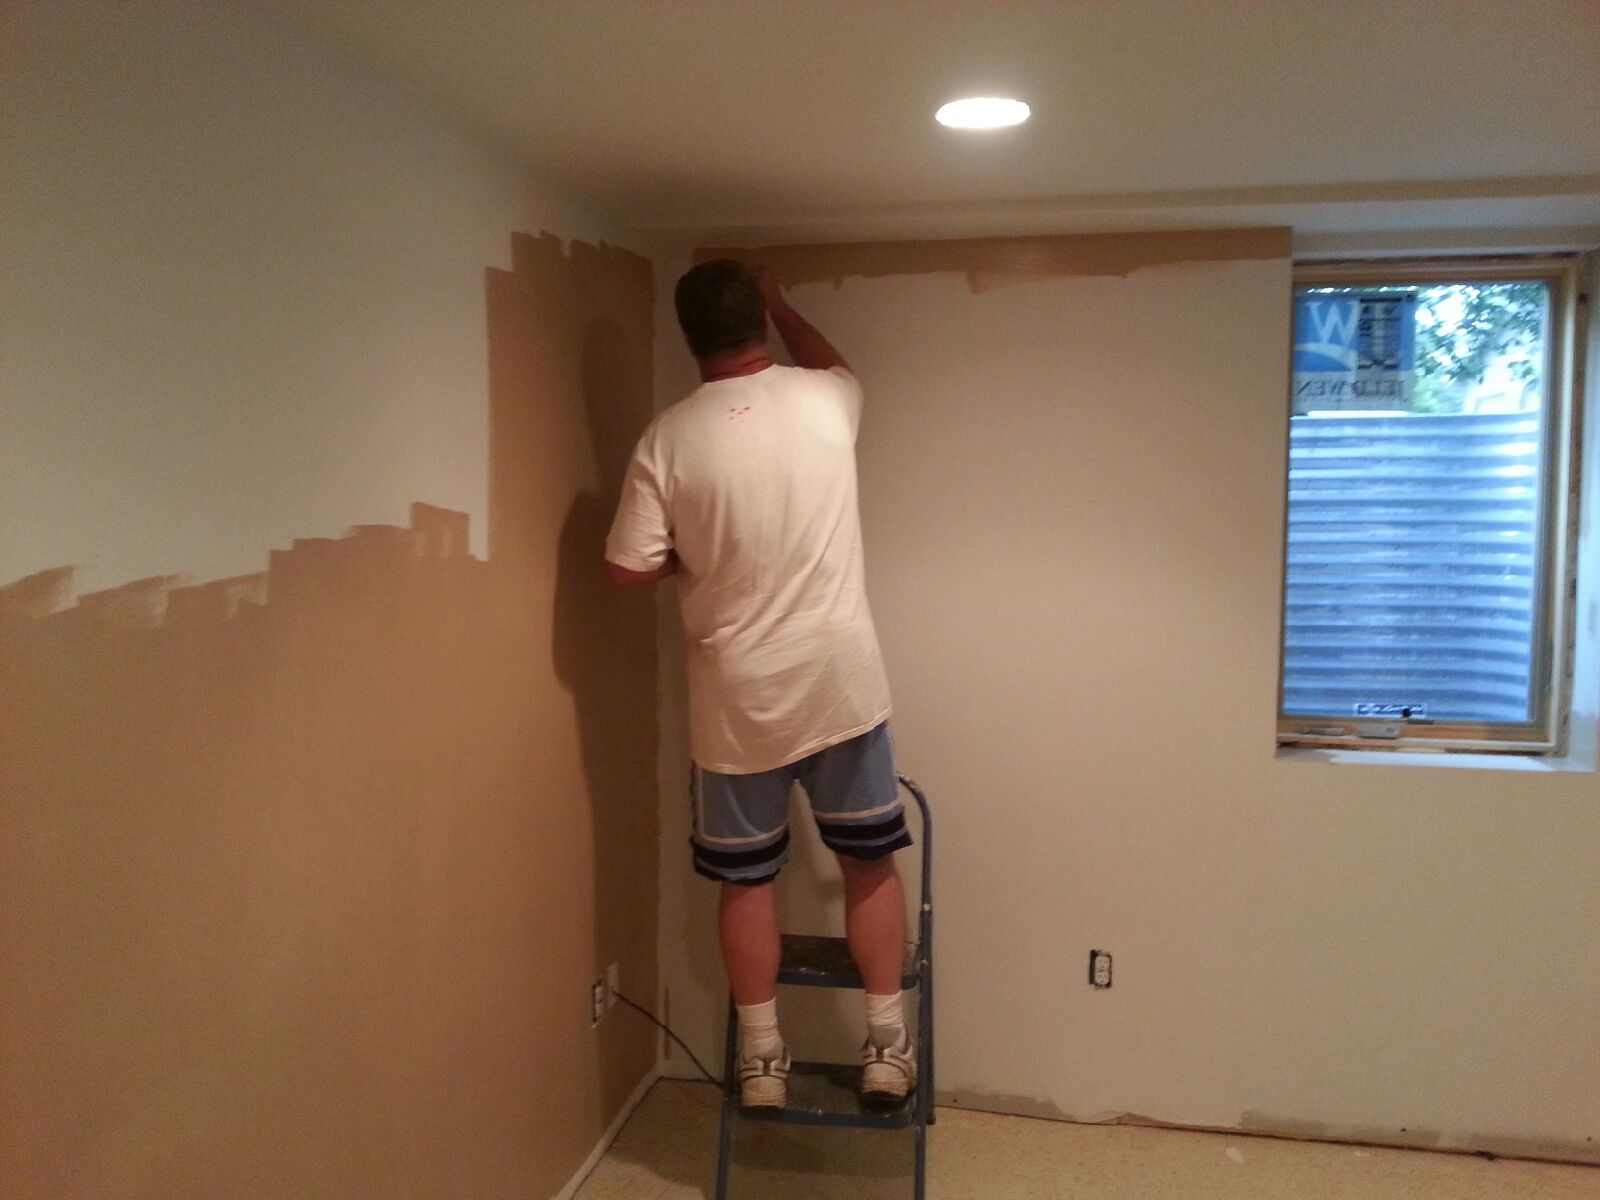
painting the walls :)

new carpet

painted and carpeted; bring in the furniture!

Finished product!

Shocking and Exciting!

It has been awhile since I last posted on our blog. Life has been busy, shocking and exciting lately. It will take me a couple of posts to get you all caught up.

Little did we know Easter would bring about "new life" in our family.

After visiting family in Ohio for the holiday, we all came down with the stomach flu. Somehow Leona and I were spared from the worst of it. Well...actually I was completely spared. :)

You guessed it...around the middle of April we discovered that we would be expecting our third child. We were well...shocked and surprised.

Several weeks prior we had cleaned out my Mom's house and gotten it ready for the market. We had planned to get ours ready for the market as well. We were hoping to get a larger home to fit all 5 of us (including my Mom) in a year or so and now suddenly we REALLY needed a larger space. With our current home we had no place to put the new baby. (I will get to more about the housing situation in the next post.)

The new baby was destined for a surprising name since s/he was unexpected, so we named this baby "Baby Boo!"

At my 12 week appointment, the doctor was unable to find a heartbeat with the doppler, so I was sent for a quick ultrasound. The heartbeat was around 160 and the due date was confirmed for December 13, 2013.


Unexpected or planned, every child is a part of God's plan. It took a little while to wrap our minds around what God was doing, but ultimately we feel blessed and have faith that God's timing is perfect. Our biggest prayer is that my back will hold up to the demands of packing, moving and carrying a child while J is still learning to walk. Thank you for lifting us up.

Friday, March 1, 2013

2 Years Later: Homemade Laundry Soap

In September 2010, I started making my own homemade laundry detergent. Here is my post about how I got started: Making Laundry Soap. You can find step by step directions there.

Honestly, I still love making and using my homemade laundry soap. It continues to save our family money each year and it is really simple to do. I have learned a few things along the way that I thought I would share with you.
This is one year supply of homemade laundry soap
.
1. I make two double batches and it lasts me a full year with my family of four. I just make one double batch after another. I love that it's less clean up and I don't have to worry about detergent until the following year! The total cost for these 8 gallons was $2.43! You can't beat that! If I had a front loader, that would be 2 years worth of laundry! WOW!
My canning pot while making my homemade laundry soap.

2. I LOVE using my canning pot. It gets the job done and it is easy to clean up because I don't use it for cooking. I also use a cookie sheet underneath the containers while I pour into them for an easier clean up.

3. Make sure to really melt the grated laundry soap. I find that you need to warm it longer than not seeing any flakes. This will help it to not have little "boogers" floating around.

4. It helps if you can put the 3 gallons of water in the bucket or pot first so that the soap doesn't stick to the bottom. This means that the 8 cups of HOT water would go into the pan you used for warming your soap. This would require a pan that is 5+ quarts.  This also helps your soap to not have any "boogers" floating around.
Love this large glass pot for the stove top!
My Mother-in-law got me this awesome glass pot for Christmas last year. I love that it can go on the stove top and in the oven. I love it for making large batches of soups, cooking my Grandma Robinson's Yams & Apples, and making my homemade laundry soap.
I use these large detergent jugs.

5. I have started using those large detergent jugs for my soap. For a double batch I can fill 2.5 of them. Your detergent needs to be a little more watery. I always put 1 cup of water in them before I start filling them. When they have cooled down 24 hours, I shake it up really good and try the spout. Sometimes I have to add another cup or so of water. (It seems like the white Zote bar has a thinner consistency.)

6. Most laundry soap containers have a lid that is already a half cup, so just measure it and use it instead of a measuring cup. Don't forget to shake your container well before each pour.
Zote Laundry soap bar
7. I tried the white Zote bar, as opposed to the pink, and I like it a lot better. The pink one has a stronger cleaning smell, where the white one seems to have a softer scent. It also seems like the white bar makes a thinner consistency making it easier to measure and work with. (Beware though that the white one is a lot harder to grate.) You can also buy the white Zote bar already grated. I saw it in Wal-Mart. It seems like one of these would make a regular batch. It was $2 when I saw it.
Zote Laundry Flakes
8. I also use a laundry soap bar directly on my stains. Sometimes I will get a stubborn stain that requires a stain stick, but I love having a bar in a Glad dish on top of my dryer for everyday stains.

9. I used lavender essential oils last time and I was not impressed. You really couldn't smell it on the clothes and I didn't like the smell. I like just using my detergent & a nice fabric softener.
10. This recipe may not be natural. I have not confirmed it, but it seems that Borax may not be completely natural. On 20 Mule Team's site they claim it is. Either way, this recipe is definitely more natural than the leading laundry detergent on the store shelf.

As I mentioned in my previous post, once you try making your own laundry soap it is a slippery "soap" to making other cleaners. Honestly, I have tried several things and nothing seems to live up to the stuff on the shelf like my laundry soap. I hope to find a homemade cleaner that is worth sharing. If you have one you use, please send it my way! Enjoy!

Here is the copy of the recipe I use for my homemade laundry soap.

Tuesday, February 19, 2013

Dance Parties

As some of you may know, one of LJ's favorite things to do is dance. She dances in the car, her room, the living room; she dances all over, all the time. She has been dancing since she was in the womb. While I was pregnant, she would move all over during worship music at church and chapel. Obviously, she is still showing off her dance moves!

J has joined in with her love for music and moving to the beat!


Today we had a "dance party" together. Take a look at our video here.

Here are some cute pictures too. Enjoy!


Monday, February 18, 2013

Happy Valentine's Day

We hope you all had a wonderful Valentine's Day!

As a family we made some valentine holders out of paper plates and exchanged valentines with each other. It was such a blessing! The kids and I took pictures to make personalized valentines for Mimi and Daddy. It was so much fun.

Here are some of the pictures we took:


Leona colored like 20 valentines and sent them out to many friends and family members. It was so much fun!

We also spent some time working on heart patterns and beginning sounds in this Preschool Valentine's Pack. I am just enjoying all the learning time with her knowing that my time with her one-on-one is just flying by. I was inspired by this love bible verse set to create 56 bible verses for us to study together the next 2 years. We put them in the shapes of hearts as a reminder of Psalm 119:11.
For Valentine's Day, we are working on "Love the Lord your God with all your heart" Deuteronomy 6:5. 

If you'd like a copy, here is my "Stored In Your Heart" set.